Getting started with OpenLiteSpeed
Since we all get used to use one piece of software, Lets stir up the pot. We
are mostly using nginx and apache httpd for webserver. But there is a
replacement for apache httpd which supports .htaccess files, meaning we can
switch very easily to it, called OpenLitesSpeed. OpenLiteSpeed is the free
and Open Source “counterpart” of the LiteSpeed server by litespeedtech. It
claims to be faster than Nginx and Apache httpd. And as an extra, it can handle
.htaccess files, so many applications will work just out-of-the-box.
What?
Event driven processes, less overhead, more connections, and enormous scalability, with no hardware upgrade required!
Add the popular LiteSpeed Cache for WordPress plugin, and you get a 100% open source, accelerated hosting platform for WordPress.
So it should be faster than what we usually have and we can keep on using our
beloved .htaccess files to do some fancy stuff.
The enterprise version LiteSpeed can even work with your Apache httpd config, which is truely awesome.
The really well integrated mod_security and GeoIP modules are a very good selling point here, because we will need those anyway. So it being built-in is super nice.
It has an admin interface
This is actually really nice to have an admin interface with your webserver. By
default you can access the admin by browsing to
https://openlitespeed.docker:7080, or another domain where you are running
OpenLiteSpeed. The default installation comes with self signed certificates
which is not an issue while toying around.
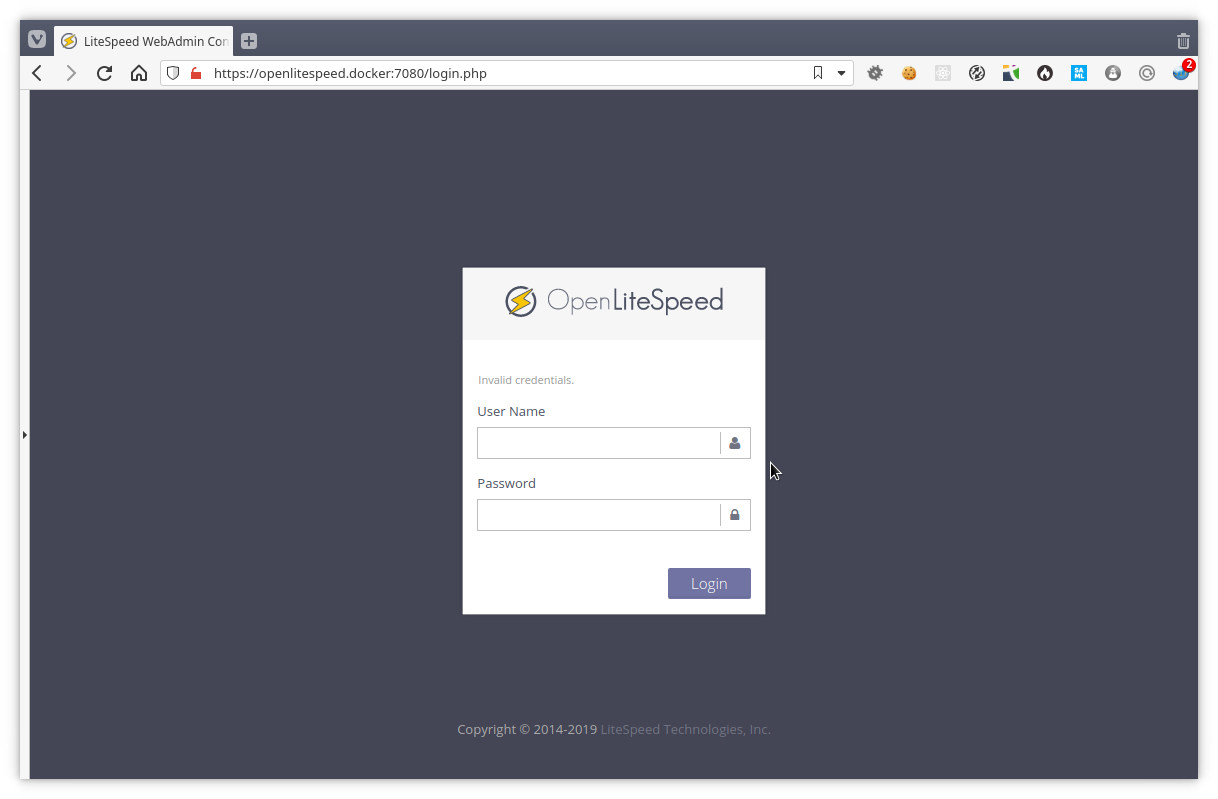

We can control the webserver completely from the admin. So for people liking a gui better, this is really nice.
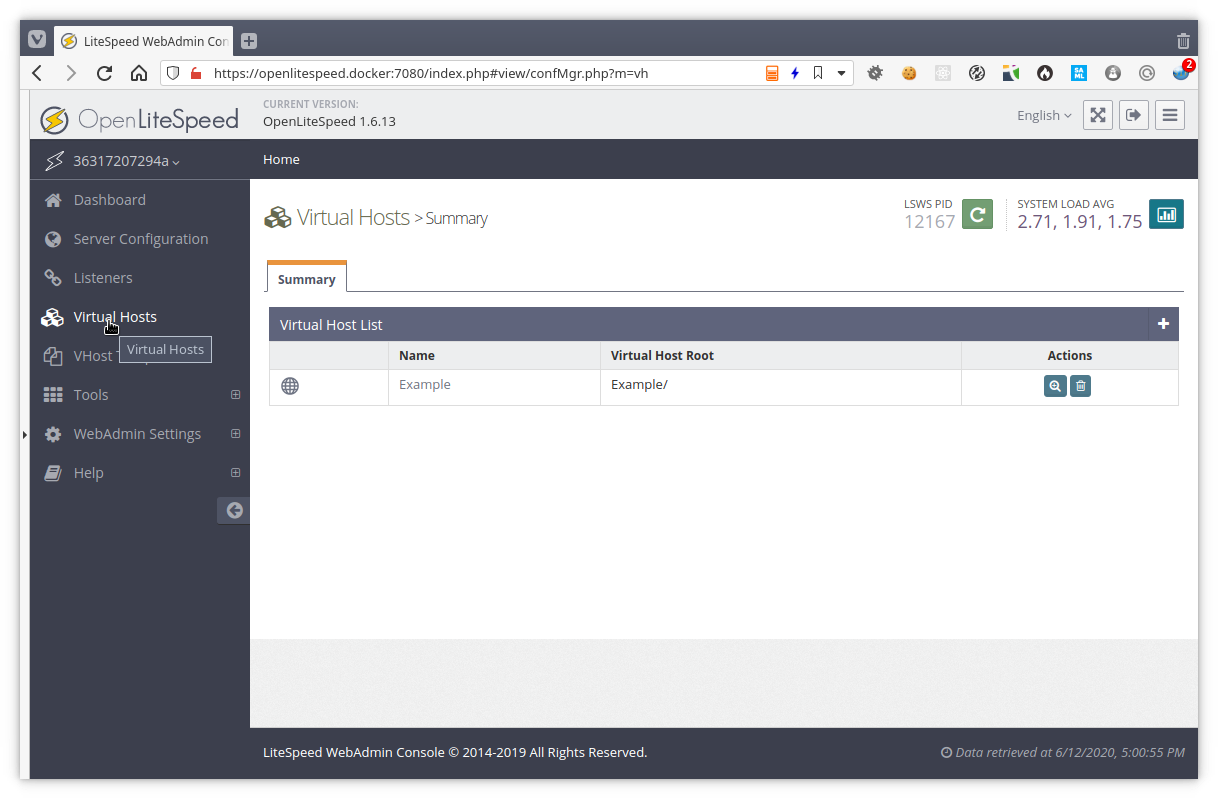
Example vhost
The default vhost we can find on http://openlitespeed.docker:8088.
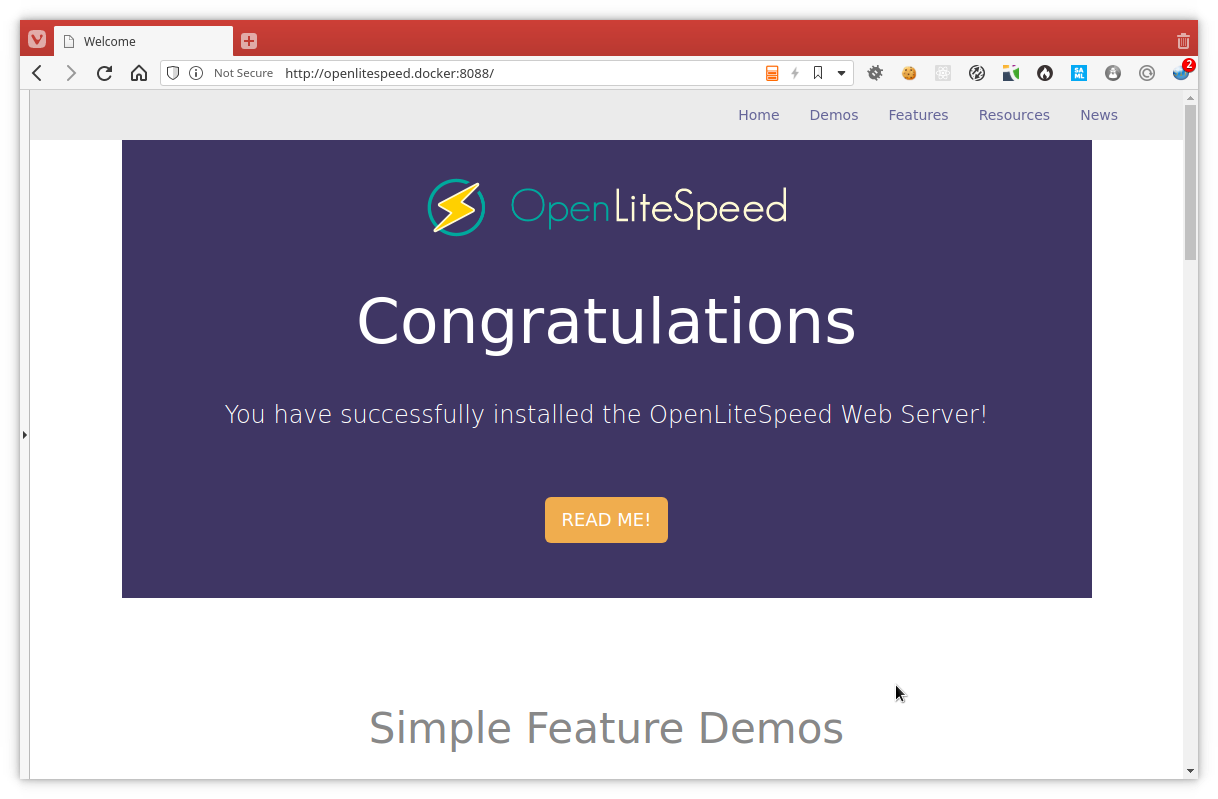
We get some nice examples of some of the capabilities to learn how to use this webserver.
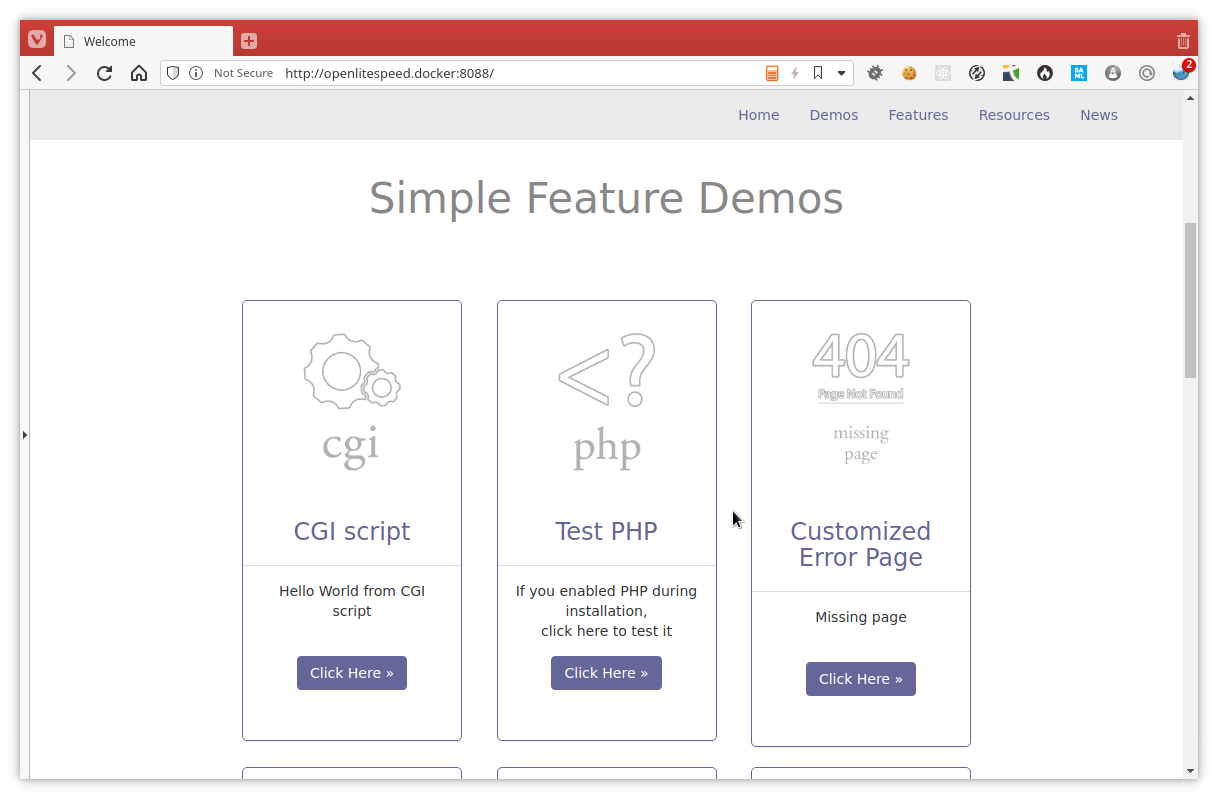
For example here we have basic php and a custom error page.
Configuration
Creating a new vhost can be done completely from the admin interface. We will
need some time to get used to this, because some things are split up
differently than what we are used to. For example there is the concept
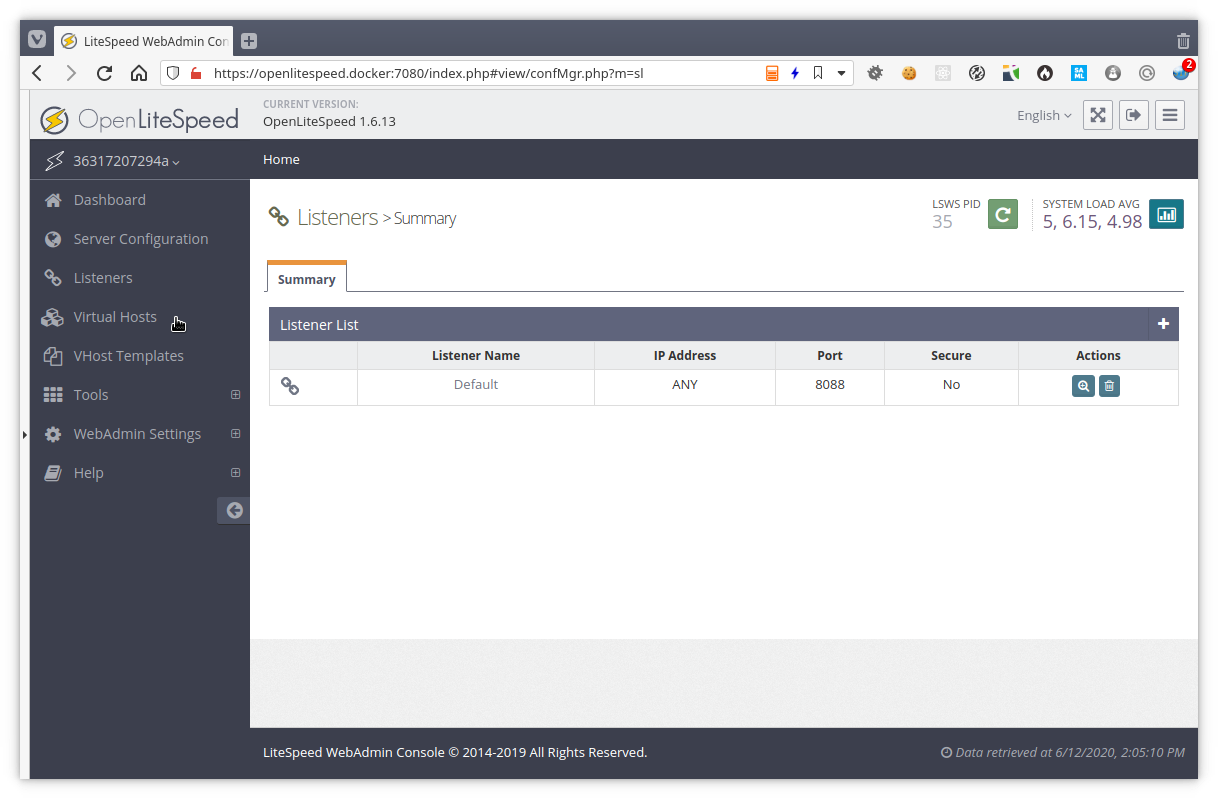
Listener, where we can define the port and if it’s secure (SSL). And then we
can attach vhosts to that listener. Where for Apache httpd or nginx we are used
to just define the port(s) we are listening on in the vhost configuration.
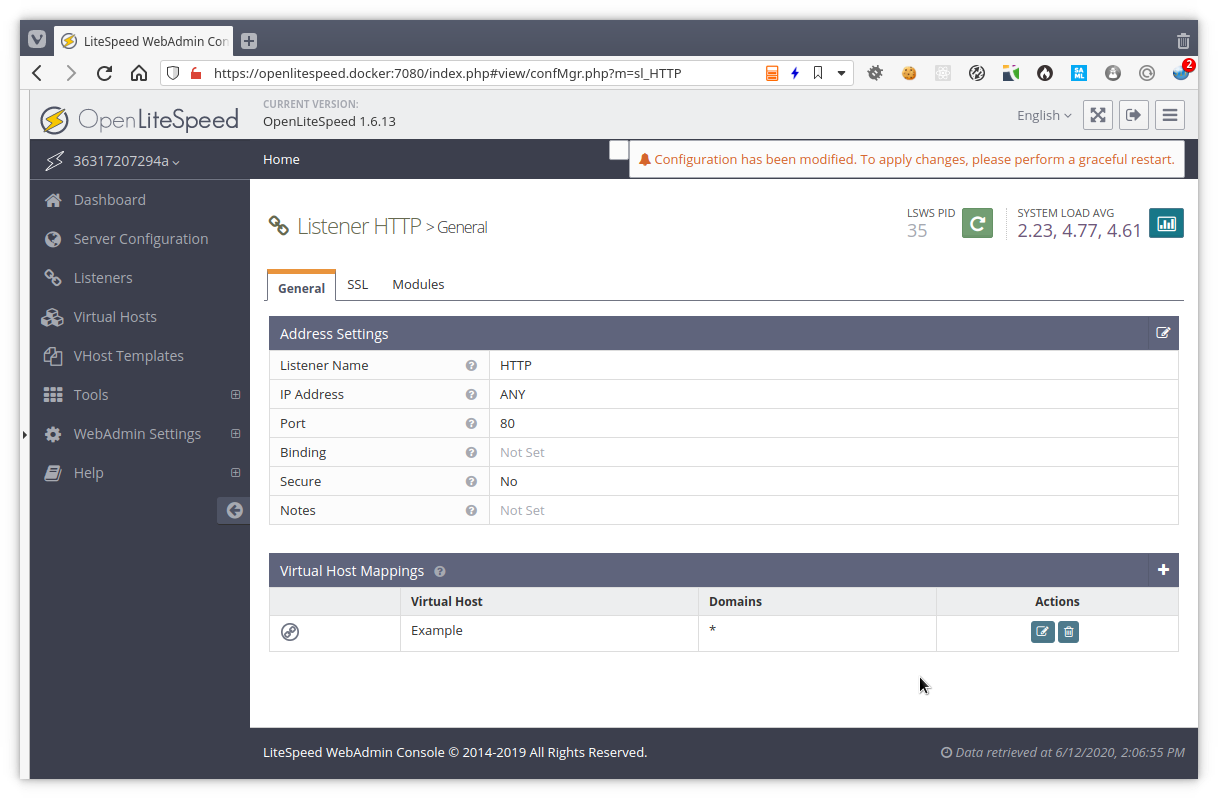
For example, we add the HTTP listener and add the Example vhost to it:
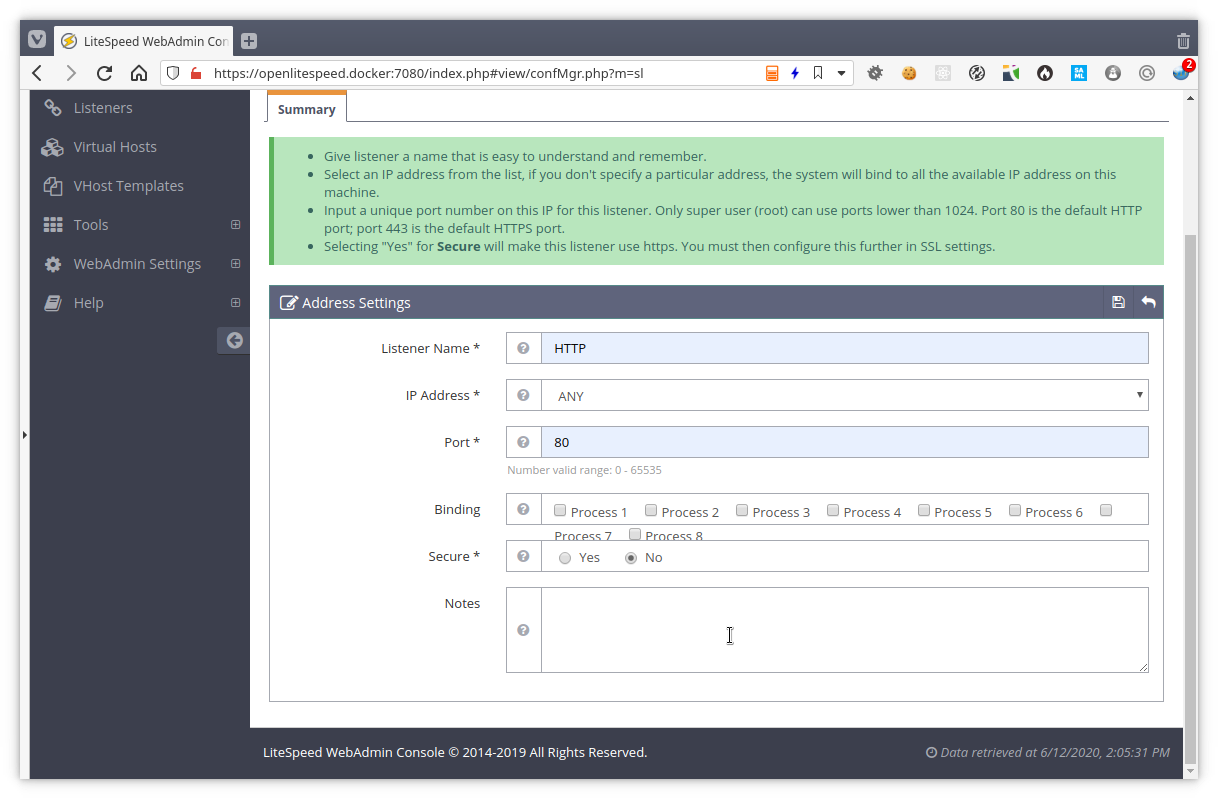
We go to the listeners and going to create a new listener by clicking the plus sign.
We fill in our configuration and can even pin this listener to a specific cpu core if we want.
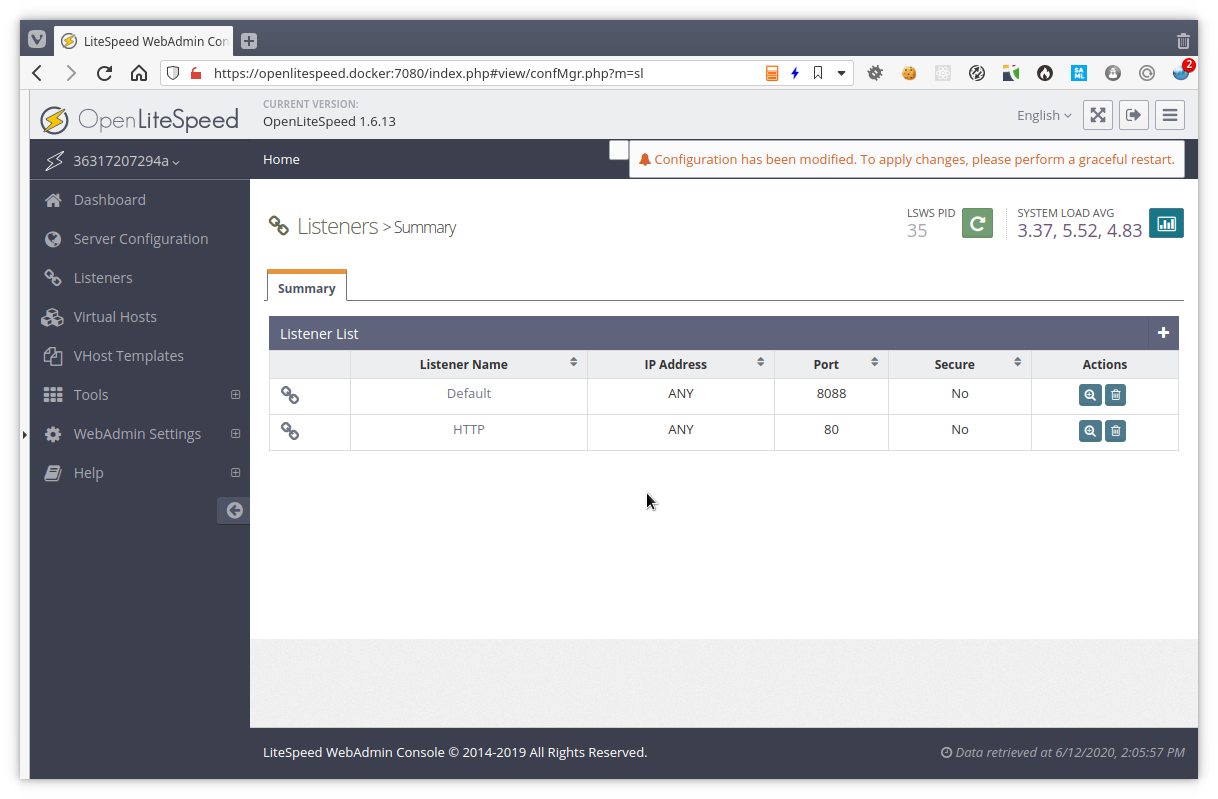
Now we have a new HTTP listener. We already get an indication we will have to reload the webserver since we have done configuration changes, but we will not yet reload.
We’ll click the magnifying glass to see the listener. Here we can add vhosts to this specific listener. We can attach the same vhost to different listeners because we will not remove the Example vhost from the default listener (on port 8088).
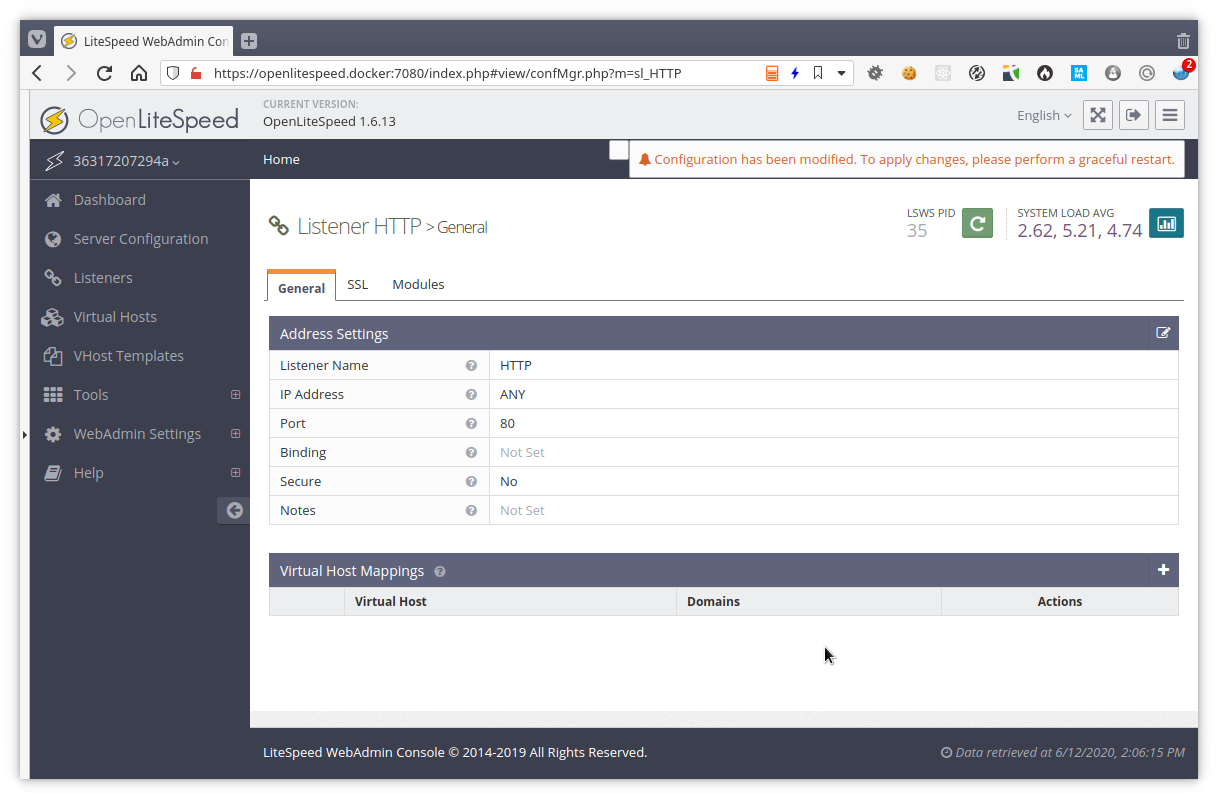
Adding our vhost on all domainnames now.
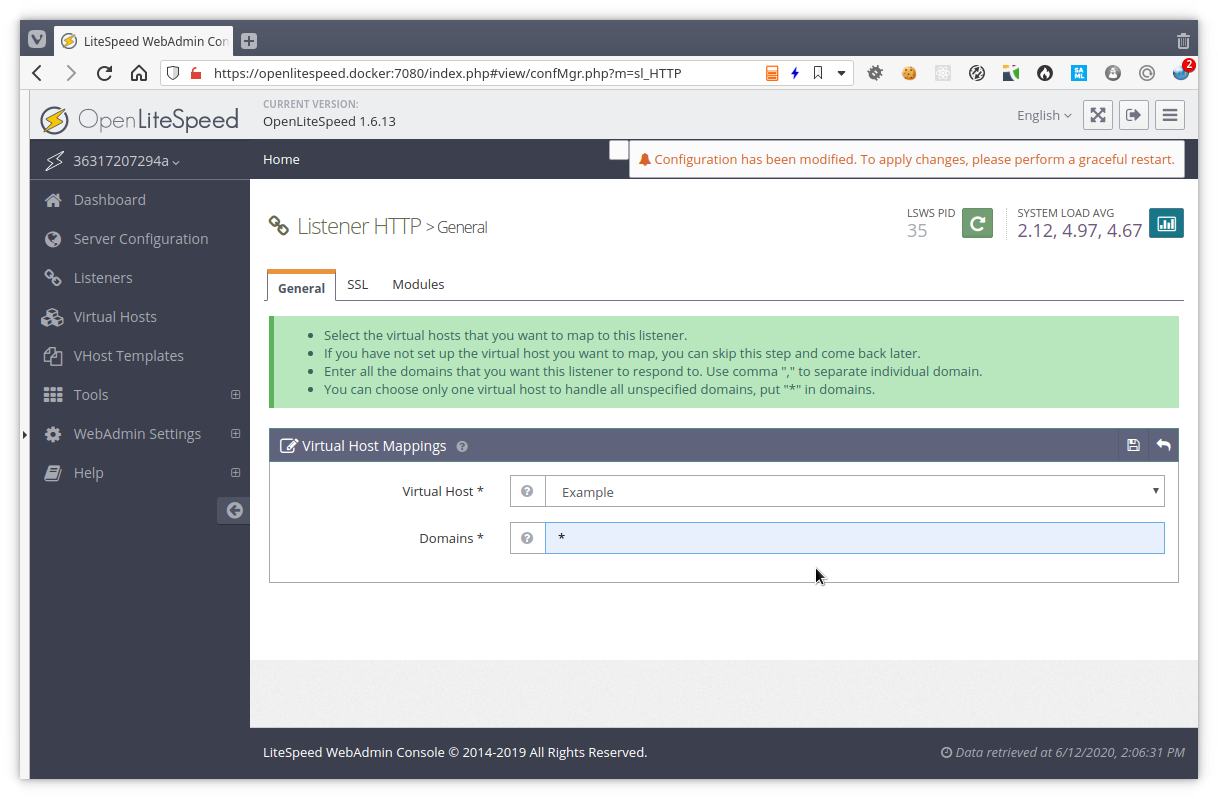
We have our vhost attached and will now gracefully reload the webserver by clicking the green button with the circle arrow.
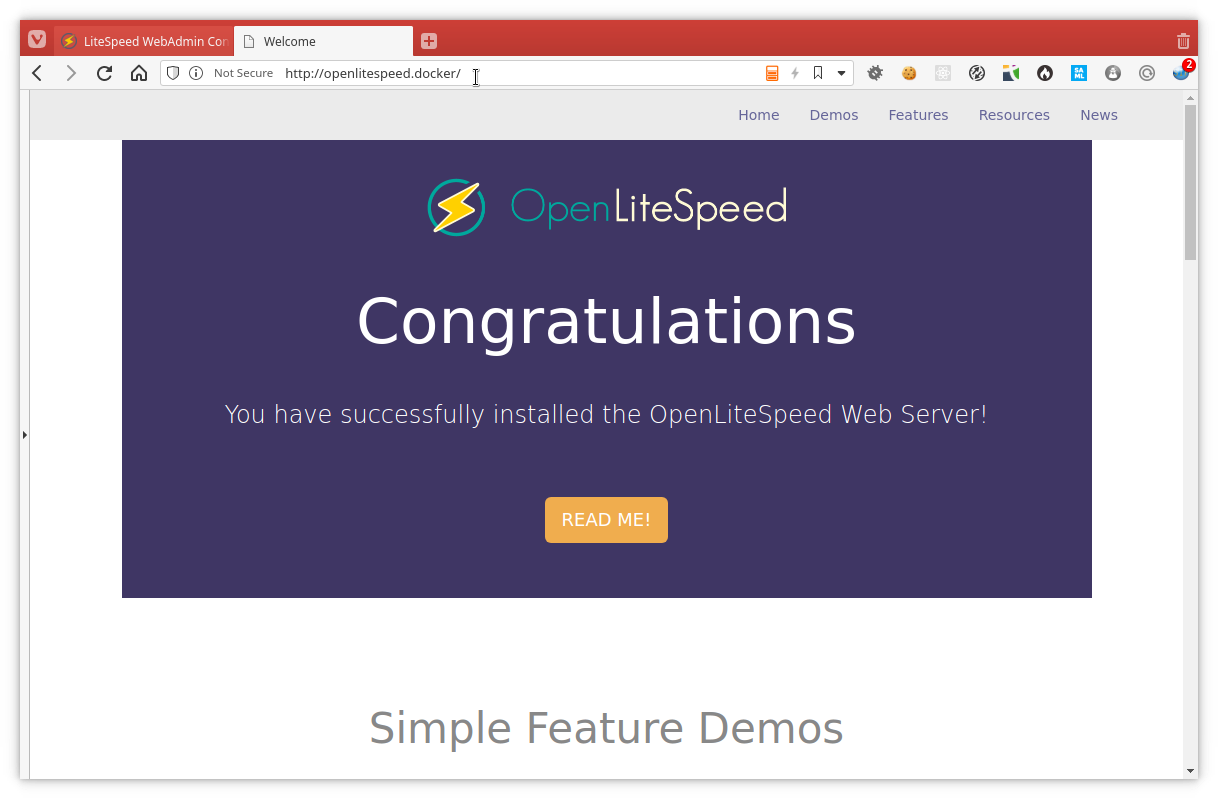
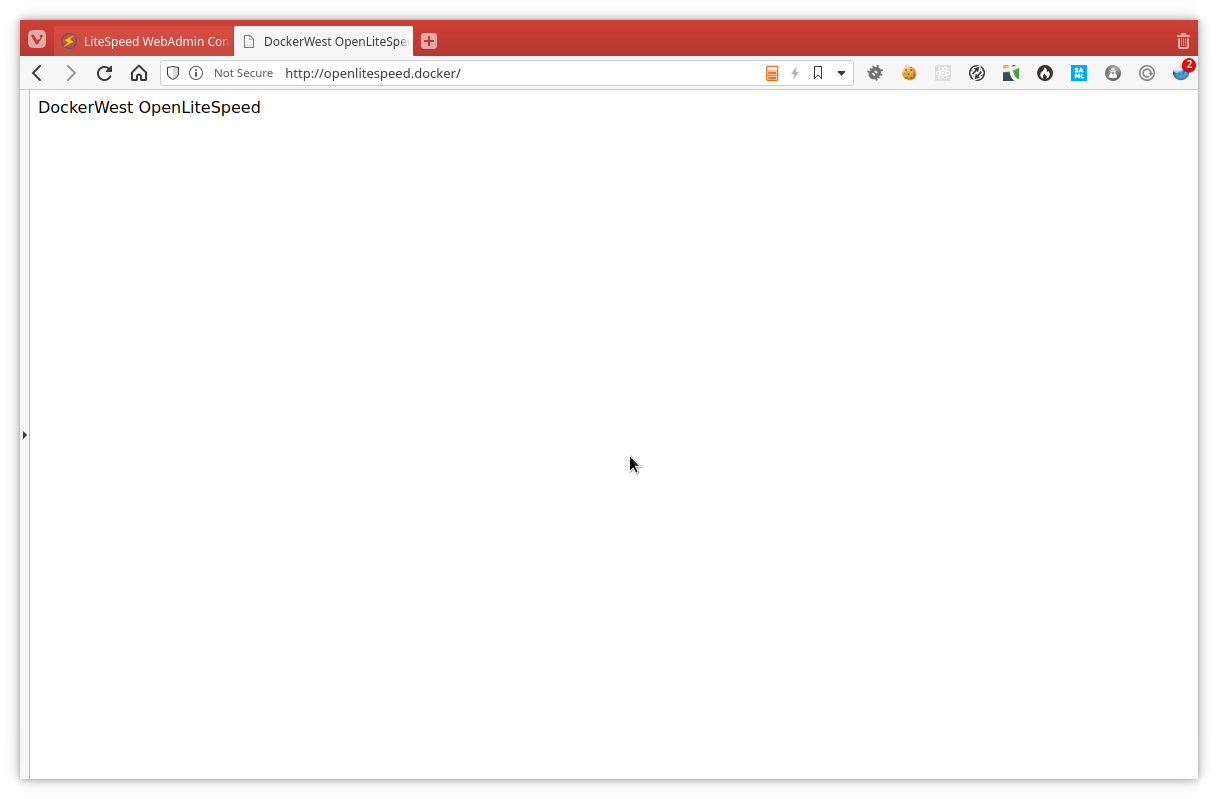
When we now browse to http://openlitespeed.docker/, we get the example page.
So now we also want to create a new vhost. We already have a index.html and
index.php lined up in /phpapp/pub. So lets find out how hard this will be to
add.
Now we will add a phpapp vhost which can be found in /phpapp.
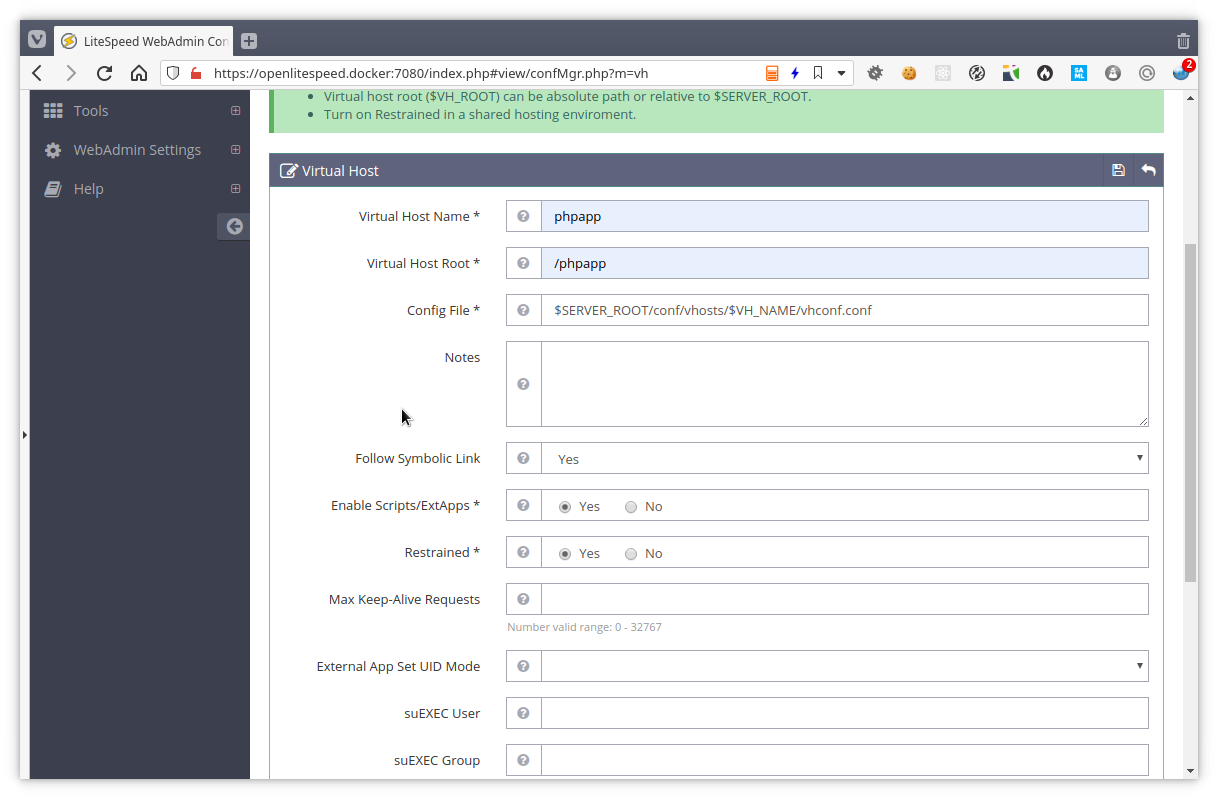
We have our vhost, but even though there is already a notification we will need to restart the server we will first continue our configuration.

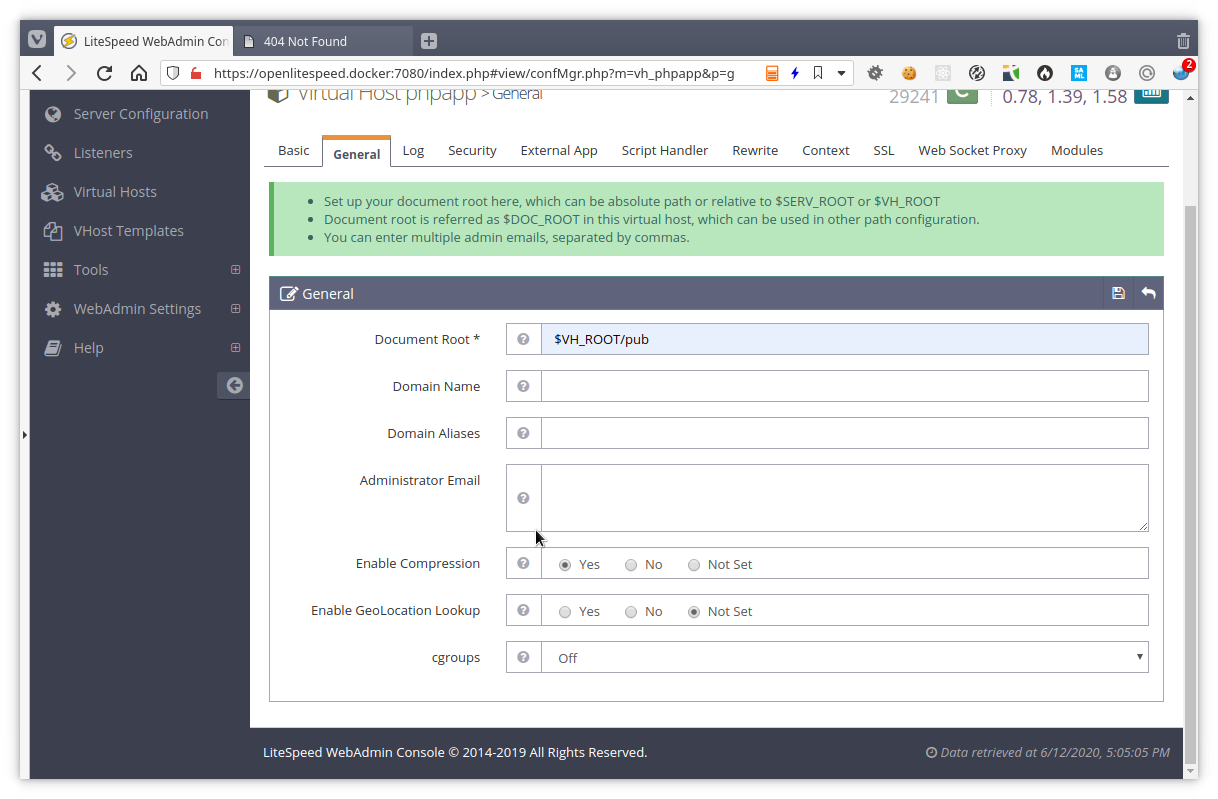
In the “General” tab of the vhost detail we must configure our Document root and if we want compresion and such.
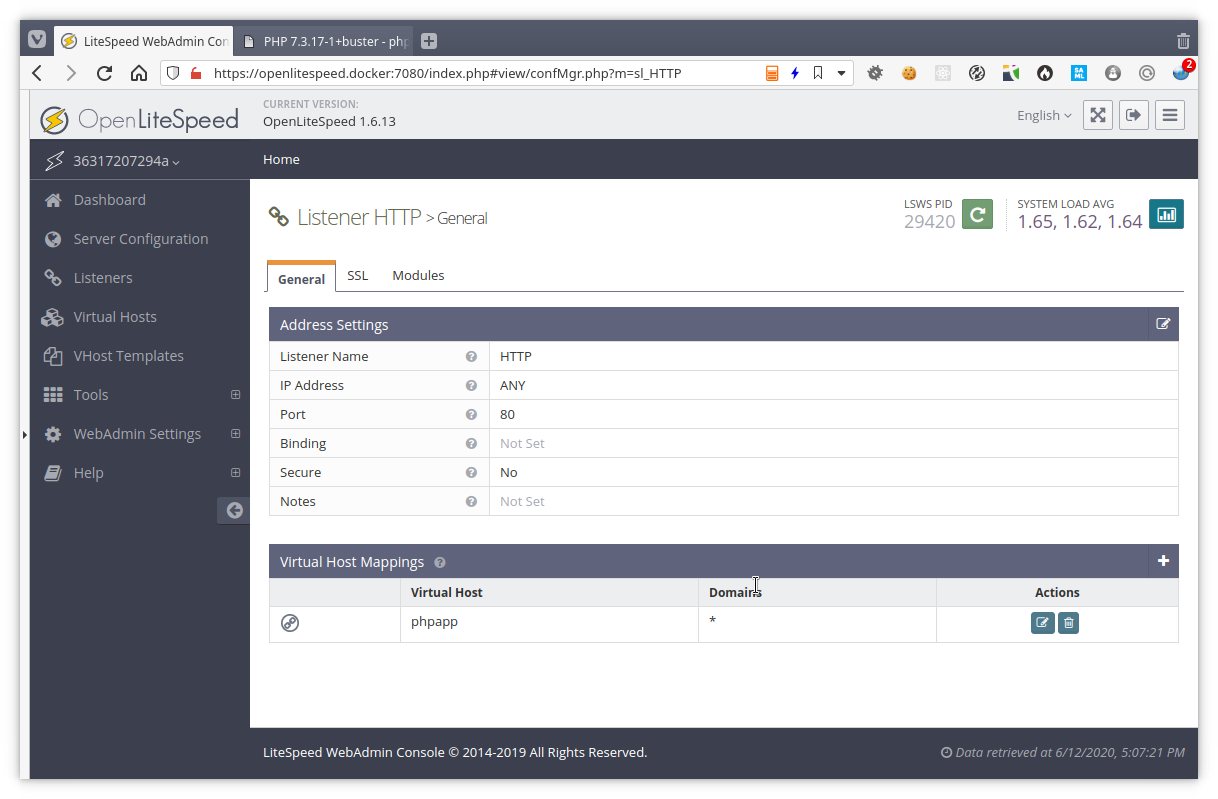
To have it easily available we’ll just remove the example vhost from the HTTP listener and add our new phpapp vhost listening to all domains.
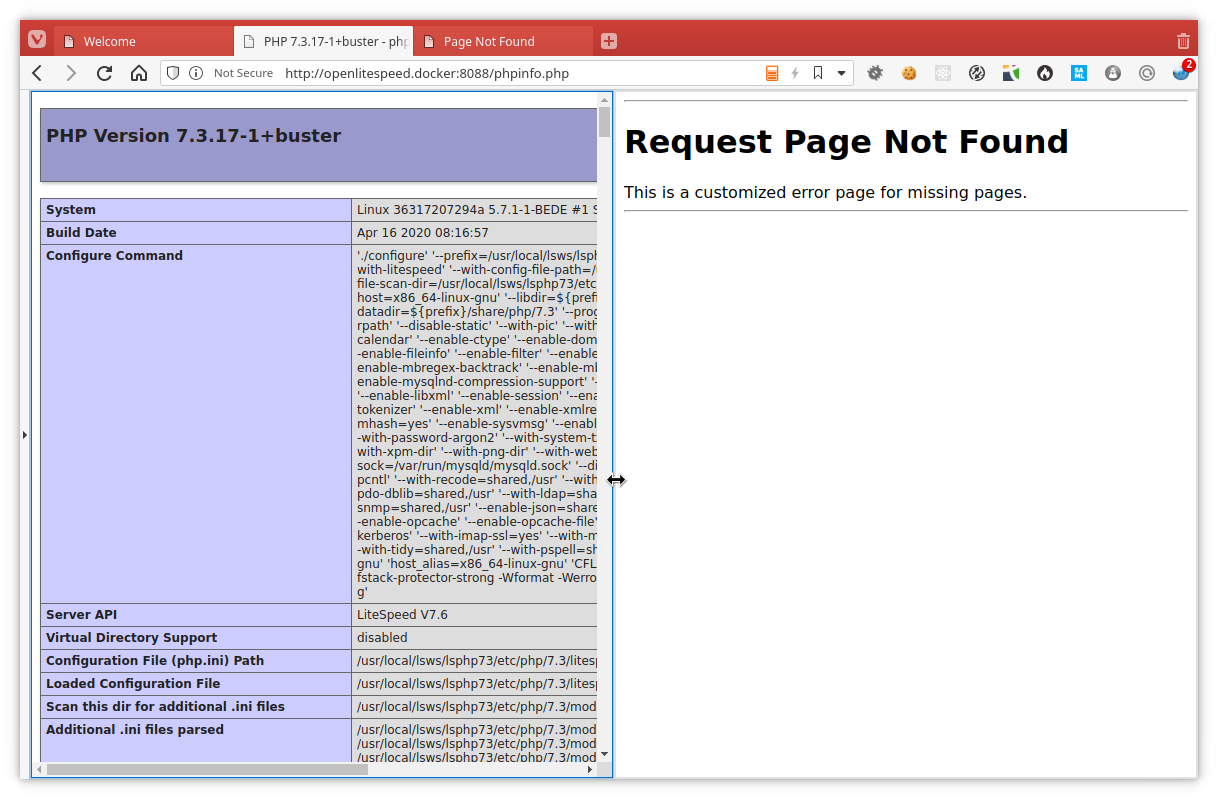
Our great index page:
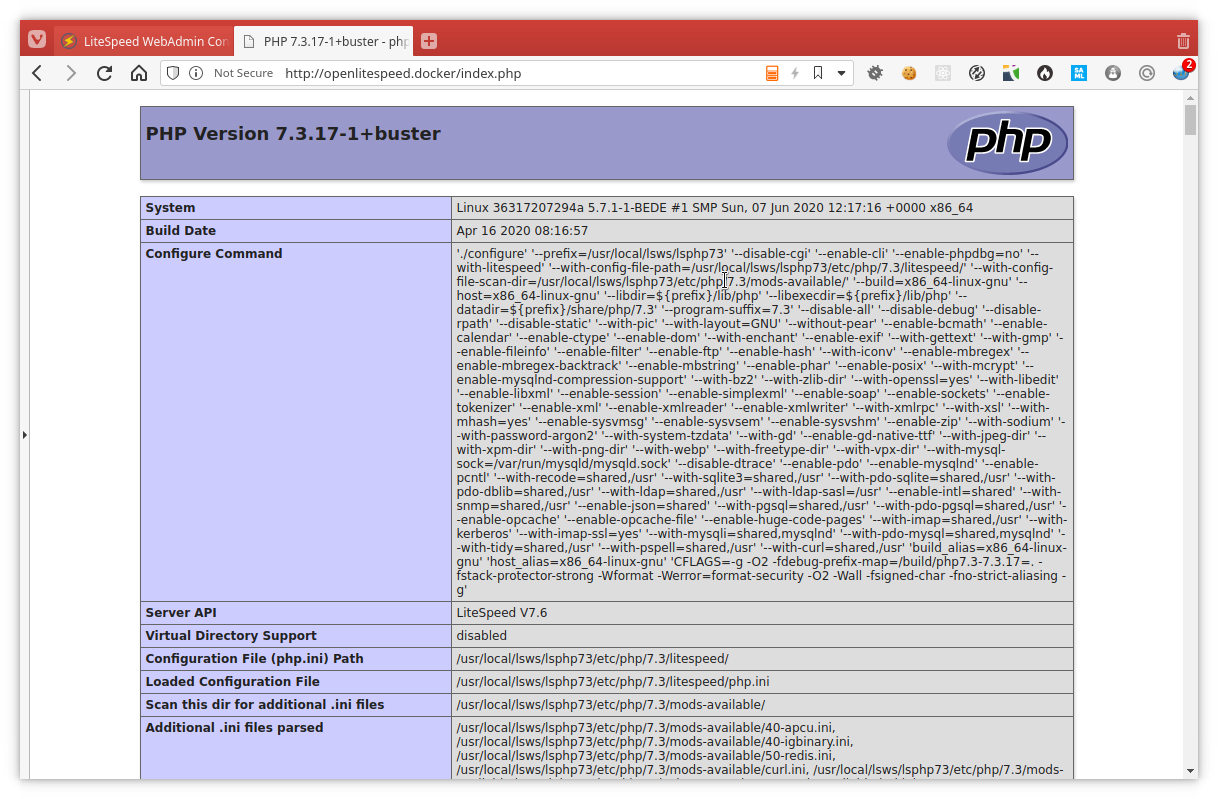
And the phpinfo:
So all in all this is relatively straight forward to get things working with this server.
Conclusion
OpenLiteSpeed definitly looks like a nice and great webserver too look at and play with. How it compares performance wise versus the more defacto webservers is a question for another time. It is great to have an admin panel on board with the webserver, from the admin configuring a website is certainly not really hard so thats a plus. When we go and look in the configuration files we might wonder how to automate this because the main httpd_conf.conf file is being modified to add a new vhost, or if the information for a listener is changed. So that might be a drawback here, not so easy to manipulate directly from the config files as what we are used to when using Apache httpd or nginx.